| use arrows to turn the pages. |
Clicking OK creates a new window . . .
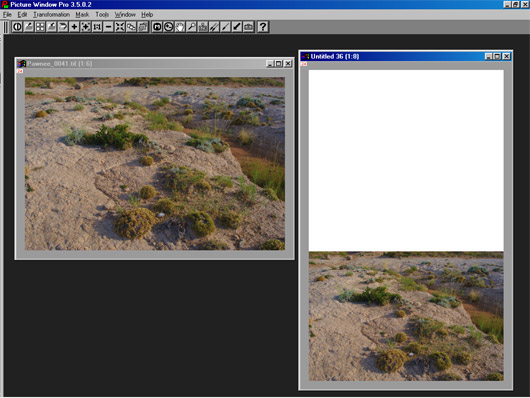
The new window has the lowest image in position and ready to add the middle image . . .
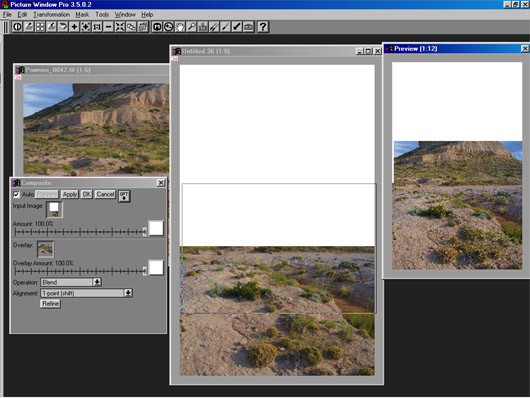
In this case, you need to use the newly created window as the Input Image, and the middle view image as the Overlay image. You must be able to shift the overlay image up to a position that fits the lower image. In this case I found the 1-point (shift) alignment works fine, but in some images, especially with strong linear visual elements, you may need to use one of the other alignment options such as 4-point (warp) in order to adjust differing perspectives between two joined images. You can see that the two images were not aligned precisely, right-to-left, and the alignment frame is shifted a little to the right as well as raised. You can see the result in the Preview window – in actually making the alignment it is best to enlarge the alignment window to 1:1 for the best precision.
| use arrows to turn the pages. |