| use arrows to turn the pages. |
Once the alignment is set, clicking OK creates a new window with the composite image. Then using this new image as the Input Image, you can add the next (high view) image.
In this case there was a problem using just the 1-point (shift) alignment. Due to rotation, and possibly some barrel distortion, the lower edge of the upper image could not be aligned across the whole width. The left and right sides could be perfectly aligned, but the middle was off. This indicates we need more than the 4-point (warp) alignment. We need the full “Monty”, the Multi-point alignment. Adding a single mid-point on the lower edge of the alignment frame enabled pulling the center down a little, which corrected the alignment problem.
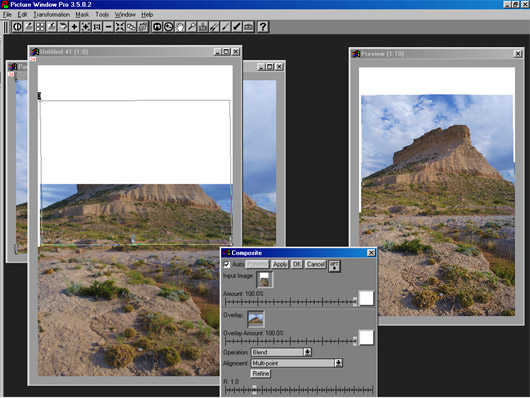
You can see in the Preview window that there are some edges not fully covered by the middle and upper images. This can be taken care of by cropping, cloning, or warping. Since the top image has some perspective convergence and “squashing” due to the camera being angled up, using a warp tool makes sense. In this case, it’s not as obvious as a picture of a building where you can see the walls tilting in, but the convergence is there.
| use arrows to turn the pages. |