| use arrows to turn the pages. |
This image is a window in an old building with a reflected scene. If I want to edit the properties of the reflection only and not the green stucco wall, I will need to “mask” the window. Likewise, the same mask could be used to edit image properties of the wall and not affect the window scene. Clicking the Mask menu item while this image is selected opens a Mask window with the same name, seen in the upper right of the desktop view below . . .
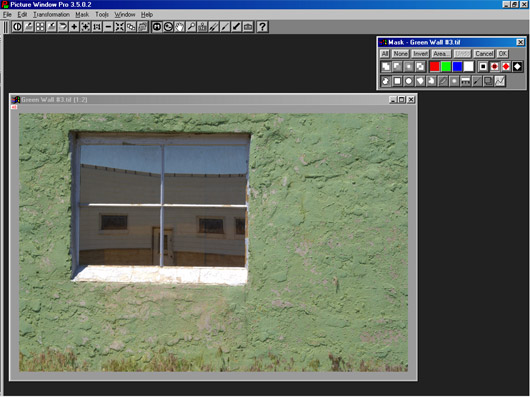
The mask window starts with a “Freehand Outline” tool button selected (lower right corner of the mask window) and with the button directly above it also selected (Add). This tool lets you draw any shape you want, and having the Add button selected let’s you add increasingly more areas to a mask gradually, rather than have to create a mask in a single try. In this case, however, I think a rectangle is what I need, and the next button to the right of “Freehand Outline” is a Rectangle tool. Clicking this, I can draw a precise rectangle on the image. This tool is like most drawing tools and has “handles” at each corner of the rectangle to adjust their positions. You can also place the cursor on any of the four sides of the rectangle and move just that side without upsetting the other three. The desktop image below shows the Rectangle tool selected, and a rectangle drawn in with its edges matching the window as best as possible . . .
| use arrows to turn the pages. |