| use arrows to turn the pages. |
When the settings are as desired, clicking OK will open a new window with the resulting transformed image, as shown below:
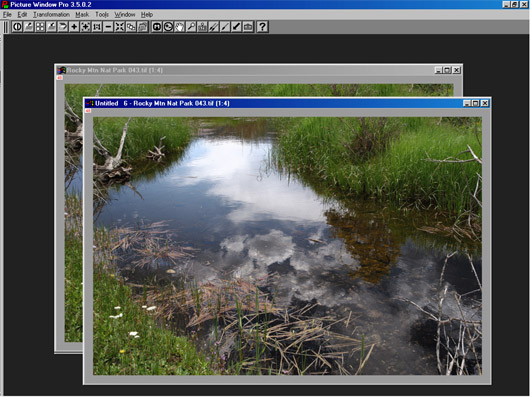
The image is beginning to look more like what I saw when I made the photograph, but there are still two changes to make: first, when I saw this scene the central cloud had the sun behind it and was brighter looking than it looks here. I couldn’t use a more aggressive Brightness Curve in the last step because the clouds near the top of the picture would start to “burn out” (they would end up a mass of white with no detail). Therefore, what we need here is . . . another mask! This is a simple one . . . just a round soft mask centered on that cloud.
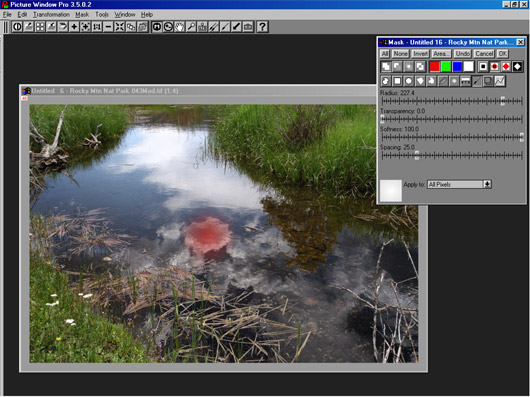
Here I’ve used the Paint tool in the Mask window with a radius of about 127 pixels (it will go as high as 400 pixels) and 100% softness so the center is dense and it fades towards the edges. This is not a complex mask, and I don’t think we will need it again, so rather than save it, let’s just use it directly to control a strong contrast change to the cloud.
| use arrows to turn the pages. |