| use arrows to turn the pages. |
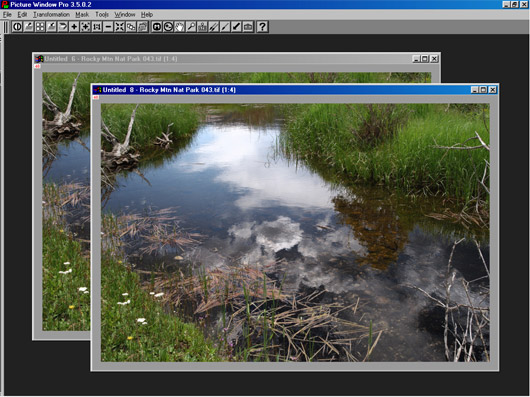
This is looking more like I remember the scene, except the sky . . . the color in the sky is not as deep as I remember. This was up in the Rocky Mountains at an elevation of over 8,000 feet. The sky was deep blue. However, the grasses look about right, so I need to use a mask again to selectively adjust the intensity of the sky reflection without increasing the saturation of the grasses. The first mask we made can be used to do this:
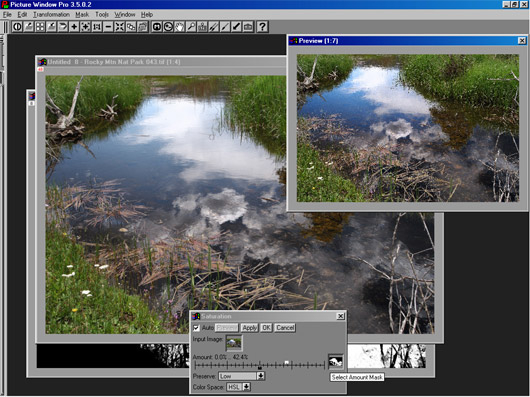
The image above shows the “water” mask used with a Color Saturation transform. In this case I wanted to increase saturation in the sky, but not in the grass. So only the white slider has been moved up, to about 42%. The black slider was left at zero. I also set “Preserve Low” to keep from increasing saturation of the lowest tones. You could also decrease saturation with this transformation, even all the way to a B&W image if you wished. This could be used to create a special-effect image with color in one part of the image and B&W in the rest of the image.
| use arrows to turn the pages. |