| use arrows to turn the pages. |
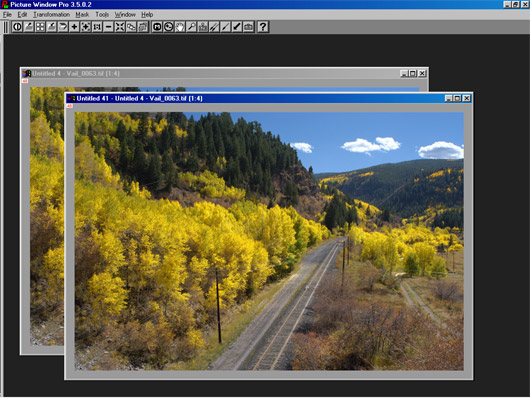
Here is the new image after contrast masking.
There are some small shrubs in the image that I noted were very red-orange when I took the photo, but they look subtle here. This is a good job for the “toolbox” (officially the Miscellaneous Retouching Tools, the button next to the ? on the main tool bar). This little toolbox has some wonderful tools in it, and any of these can be used in conjunction with a mask if you need to protect an area from editing. In this case, I used the Increase Saturation tool with a medium size radius, 50% Transparency, and 50% Softness setting to bring back some of the red bark on the peripheral shrubs . . .
| use arrows to turn the pages. |