| use arrows to turn the pages. |
As mentioned earlier, to save file space, the mask can safely be saved as a high quality jpeg that will be only a small fraction the size of its associated image file.
The mask toolbox is not the only way to make an image-derived mask! Any method that creates an 8-bit B&W image can make a mask. One method is using the Convert Tool to convert an image from color to 8-bit B&W. There is a monochrome function in the Color tools that enables converting a color image to a B&W image through a color filter which allows you to make a mask isolating certain colors. And the Special Effects menu has a High Contrast tool that can make a sharp outline of subtle tone differences.
And there are even more ways to make a mask! Sometimes you need an effect that is not precisely related to the original image. For example, if you have a picture with one corner that is considerably darker than the rest of the image, you may want to lighten that corner. You can use a Picture Window Pro function called the Gradient to create a mask that will smoothly lighten the corner when used with a brightness transformation. You can also use a gradient mask to blend in a “bluer” sky in a picture where the original sky washed out. You can use an oval gradient mask to create a “vignette” effect like an old time photo. And there are many other things you can accomplish with gradient masks.
With Picture Window Pro, there are many ways to create a mask and many things you can do with a mask; you need to determine the purpose of the mask and choose an appropriate method to create it.
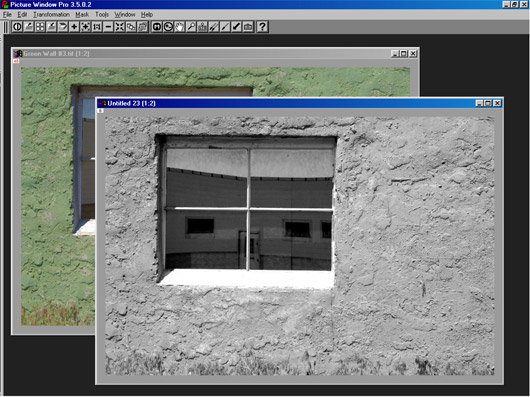
So, once you have a mask, how are you going to use it? For the image we just used to make three different masks, I used a combination of the continuous tone mask made last (Brightness Curve tool) with the previous mask (mask of only the window reflection made with the Paint tool) to enhance the tones into the following image . . .

In this application, a Gray transformation Brightness Curve was applied through the continuous tone mask on the green wall – the saturation of the wall was not changed, only the contrast. Then I increased the color saturation of the reflected image in the window using the second mask we made. The result is a more dramatic view of this scene.
| use arrows to turn the pages. |