| Author | Message | ||
Marcel Maes Member Username: Marcel_maes Post Number: 25 Registered: 08-2006 |
Here's another way to enhance contrast in some flat looking RAW-images. Maybe this tip has been posted before, but I couldn't find it. 1 Convert the colorimage to 8 bit B&W 2 Expand the dynamic range of (1) to Full Range using Transformation -> Grey -> Levels and Color. 3 Go to the original color image and apply Transformation -> Grey -> Brightness. * Choose the result of step 2 as mask. * Set Preserve to Neither. * Move the white slider to the right and the black slider to the left. * Try different color spaces. I stumbled over it when I was trying to make a very complex mask but it can be used in other pictures too. Can also give nice B&W results ! In the examples below, the sky needed to be lightened up but I wanted to preserve the twigs (just lightening them too makes them look bleu). It may not work for every picture or every part of the picture (you could combine masks ...) but because it is quick and easy, it became one of the things I try first when looking for the best starting point to edit the pictures. The mask is not blurred and not sharpened. Of course in step 1 you can also choose to extract the luminance, red, blue or green channel, "whatever you like" as Bob Ross used to say. 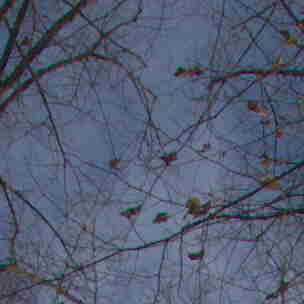 the original 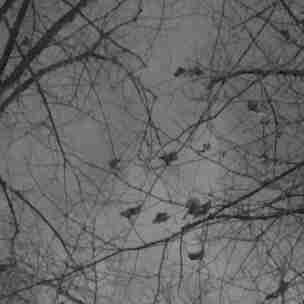 the mask 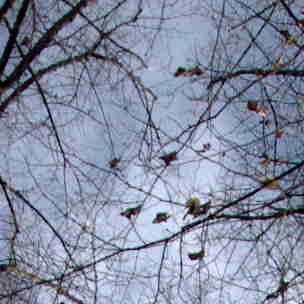 the result Pictures are 300*300 pixel crops from a 8 MP camera and also 50% compressed for posting, so the precision is not fully shown here. |